My son-in-law bought me a compost tumbler, a JK 270 to be exact! He has begun selling these Swedish-designed compost tumblers in the US and asked me to blog about my experience with using the tumbler, in hopes to best understand his customers. In this blog, I’ll be sharing what it was like to set it up when I got the composter, how it works, what I found to be challenging and what things were convenient about it. For the record, I have no previous experience with composting, this is completely new for me. I’m excited!

My son-in-law, Niklas’ hope is that this blog will help others who want to learn more about composting, and also for this to be a place where they can discuss their thoughts and share their experiences.

With that said, let’s get ready to TUMBLE!!

October 26, 2010

Week Three, No odor

This is so exciting! I Inside of the warm, insulated chamber, the mixture is really starting to have a dirt-like appearance! The compost looked a little wet the other day, so I added some extra wood pellets to soak it up. It seems to be working away in there! 
One thing that is surprising to me is the lack of odor. You would think that all of those banana peels, orange rinds, chicken fat, etc. would inevitably create some type of an odor, at least from the small air holes on the sides, but not at all!
I am impressed!

Week Two, fruit flies

At my 2-week point of using the compost tumbler, I got a little concerned. It seemed like the process of breaking down the waste was going a little bit slow, and I noticed a few fruit flies in.

 I called Niklas (The Composting Warehouse representative in the States) and he assured me that this was a very normal experience during the first week or two before the microorganisms in the mixture begin to really go to work. He explained that when the compost tumbler fills up a little more, and also when it starts to build warmth inside, that fruit flies will not linger in there and I will soon see a cleaner, more hygienic compost. I was told that when starting to fill up an empty chamber in the tumbler (there are 2 chambers, so that while one is working, the other has produced compost ready for the garden), I could put some already made compost in there to help the process start more quickly.

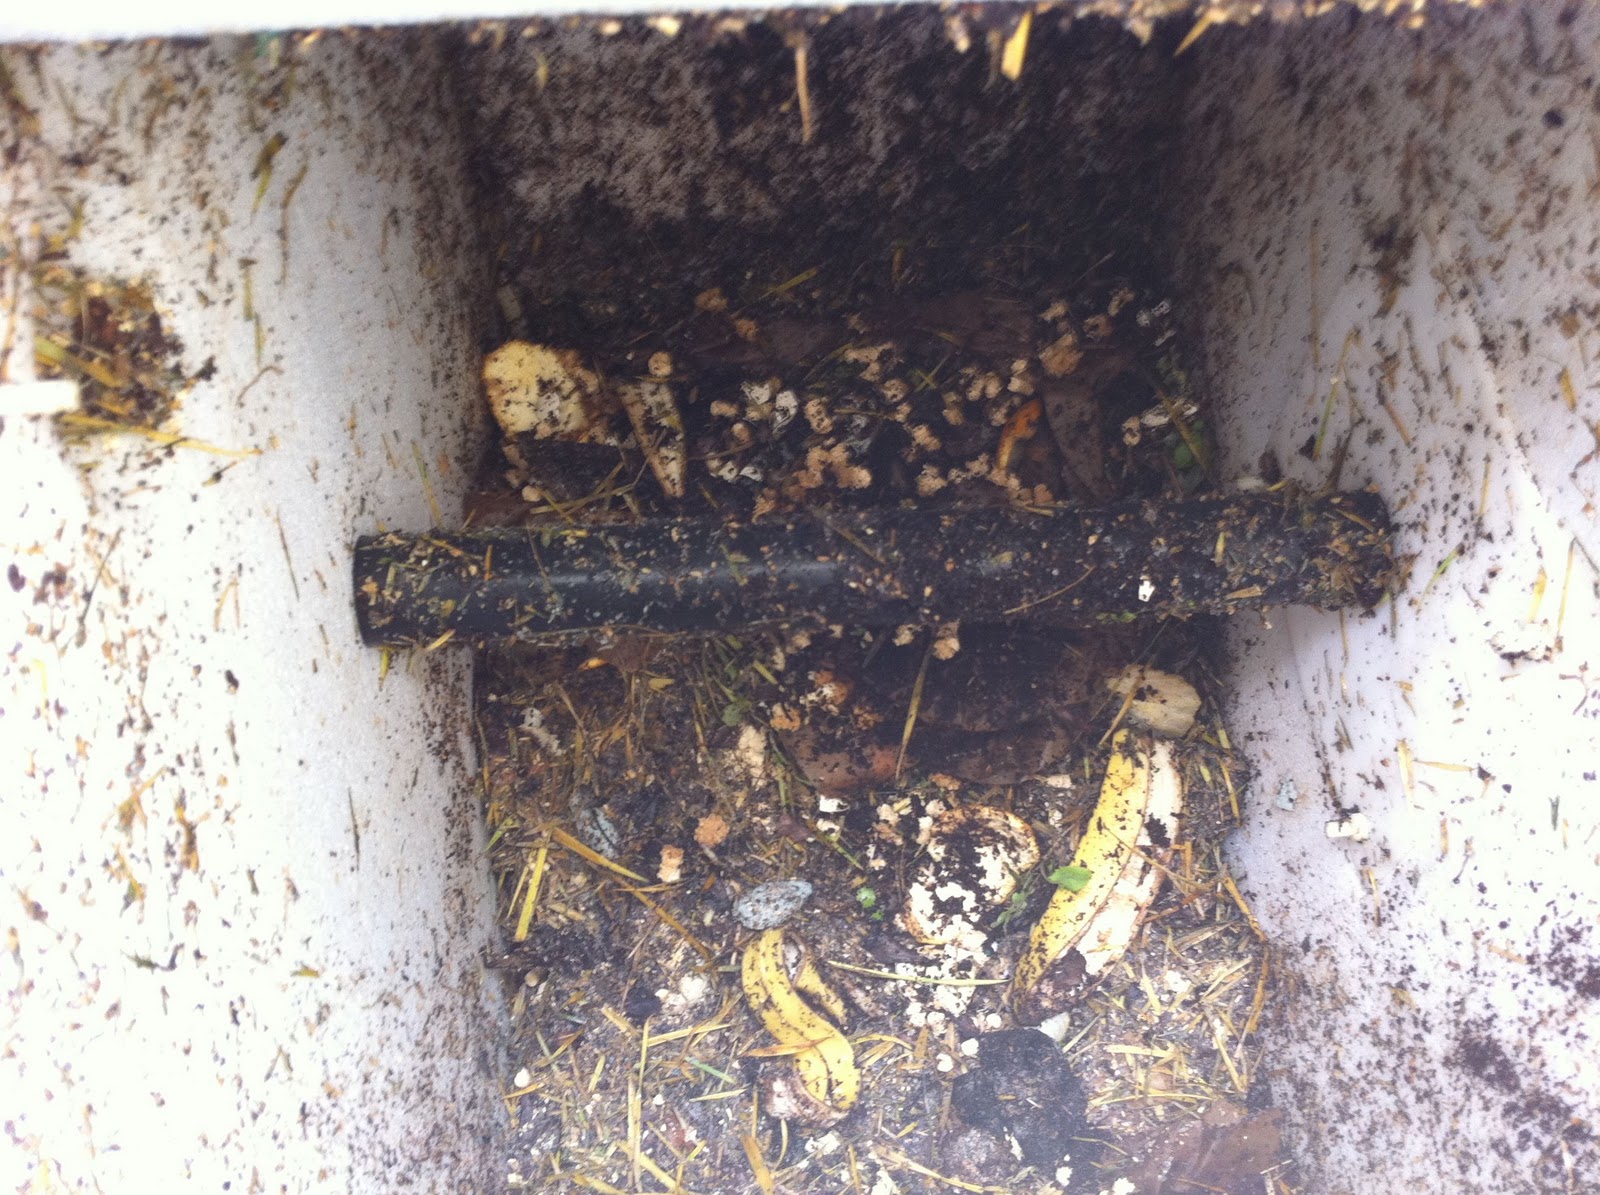
This being the first time I am making the compost, I didn’t have any to do that with, but I did put about 4 handfuls of grass clippings in there, and after 4 days there were no signs of flies. I noticed that the temperature inside the chamber had also increased.

Time to Tumble! (Week one)


 I read up on what I’d be allowed to put in the JK 270, and was impressed with how much of a variety of things I’d be able to put in there! Niklas told me, “Basically, anything you could put in your mouth, you can put in the tumbler.” Of course, there is much more than just that that can go in there, but it was a good rule of thumb. You can even put garden waste in there, but not too much at a time, since you want to be able to fill it up mainly with waste from your kitchen that can be broken down. I was told that hard sticks and twigs shouldn’t be added to the tumbler. The website has a detailed list of what to and what not to add to your tumbler, plus tips well worth looking at.

I had a little trouble finding wood pellets (which they say is the best thing to mix in with your kitchen/ garden waste)in the beginning, but did find them for a good price at the local feed store. I searched ”Feed Store” on Google and found a place that sold 40 lbs. of wood pellets for 13 dollars including tax. I don’t have cats, but apparently, there are places in which you can buy a certain type of wood pellets used for cat litter and that can also be disposed of in the compost tumbler (Sand-like cat litter cannot be put in there). They say you can also use sawdust instead of wood pellets, but I haven’t tried that yet.

I’ve got a medium-sized coffee can with a lid under my sink to fill the kitchen waste in and I dump the waste into the JK 270 every couple of days. Every time I add waste to the tumbler, I rotate it.  So far, I have mostly coffee grinds, banana peels, egg shells and some scraps not eaten off dinner plates in the tumbler. Niklas told me that every time I fill it up, I should put in some wood pellets (the ratio should be 10:1, waste to pellets). By the way, I have only begun filling up the first chamber.

So far, so good!

It’s Here!


On September 13th, I got a knock at my door. It was the FedEx guy dropping off 2 boxes that were sent to me from The Composting Warehouse, Inc. Inside was an instruction manual and the components of a JK 270 compost tumbler. ”JK” stands for Jora Kompost (spelled with a ”K” in the Swedish language, Sweden being where it is designed). The product had some assembly required (like all things Swedish!), and the instructions were included. In the beginning, I put the side panel on the wrong sides, so a good tip would be to make sure the green-painted sides of the panels are facing outwards on each side of the tumbler. One more small detail I realized was that I put part A in the instructions on backwards, so once I turned it the right way, it sat nicely. 


I guess a good rule of thumb when assembling things is to just take your time and really follow each step on the manual, even if it’s not a complicated assembly process. I put it together with one other person and I think that made it easier, but I don’t think it’s impossible to do it on your own.

The entire tumbler weighs about 86 pounds when empty, which although a little heavy, it felt sturdy. I placed it next to my trash cans in the back yard.